Table of Contents
- Mannequin Photography Still Matters
- Prepping the Garment and Mannequin
- Setting Up the Right Lighting
- Camera Gear and Settings
- Composing for Clean, Balanced Shots
- Post-Production and Retouching
- How Modelia Helps Perfect Mannequin Photography
- Mannequin Photography Tips for Different Garments
- Avoiding Common Mistakes
- What Is the Ghost Mannequin Effect in Photography?
- Who Was the Photographer Who Used Mannequins?
- Resume: How Do You Take Pictures of Mannequin Clothes?
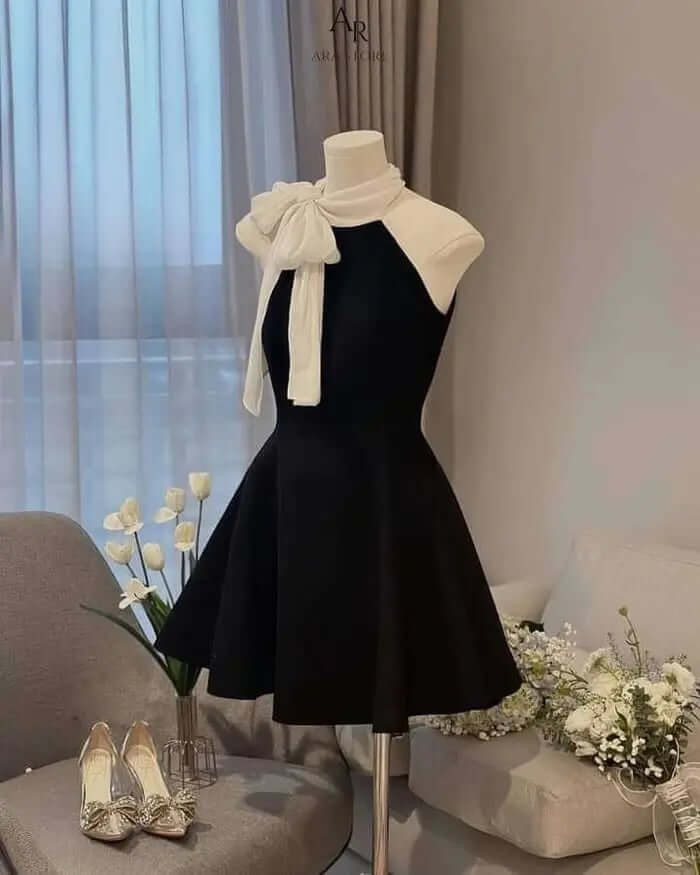
In small fashion businesses, mannequin photography is prevalent because it's easy to do and offers a clearer view of how a garment looks compared to a photo of it on a hanger. However, if these photos aren't well taken, they can significantly harm sales and that is why, in this article, we’ll explore the best practices for mannequin photography. From how to prepare your garments and sets to how platforms like Modelia can enhance your workflow and final results.
Done right, mannequin photos can highlight fit, fabric and design with clarity and consistency. But taking strong mannequin images isn’t just about placing clothing on a form and pressing the shutter. It requires thoughtful styling, precise lighting, proper framing and post-production editing.
Let’s dive into what it takes to create photos that sell.
Mannequin Photography Still Matters
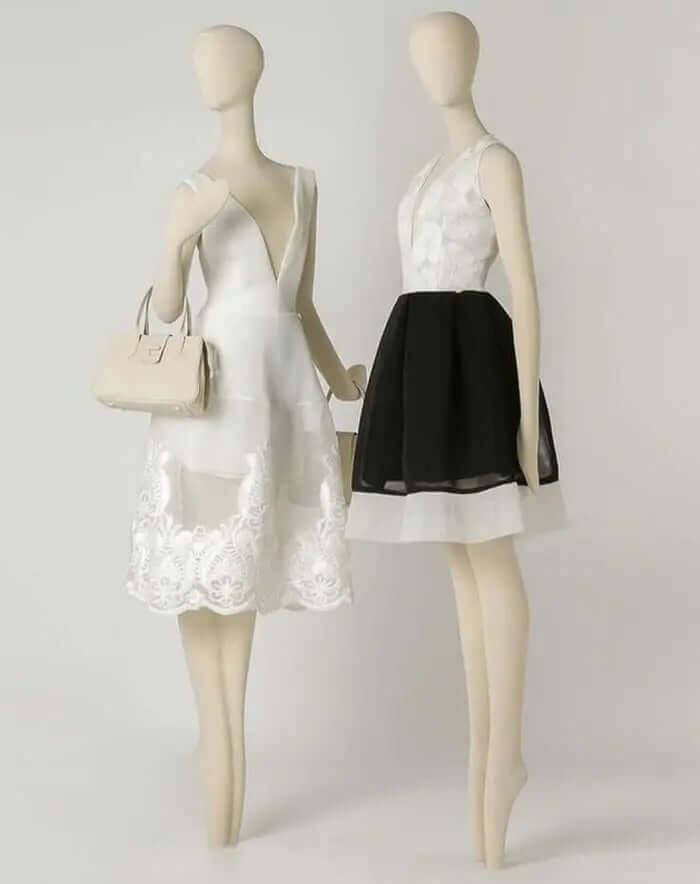
Although the rise of digital models and virtual try-ons is shaping the future of fashion photography, mannequins continue to hold their ground as a reliable and scalable option. They offer consistency across product lines, don't require scheduling or contracts and provide a clear representation of fit when styled correctly.
What makes mannequin shots powerful is their ability to keep the focus on the product. They avoid the distractions a real person could cause and focus totally in the garment and its fit. However, to leverage mannequin photography effectively, it's important to follow a consistent set of techniques.
Prepping the Garment and Mannequin
If the garment is not perfectly steamed, the result might be bad, so, first of all start by steaming or ironing each item of clothing, avoiding wrinkles, folds or misplaced seams can cheapen the visual appeal and misrepresent the product's quality. Also, make sure the garment is the correct size for the mannequin or use discreet clips and pins to adjust the fit from the back or inside.
Another tip is to always choose a mannequin that aligns with your brand's identity. A clean white torso may work well for minimalistic brands, while a fabric-covered or more stylized form might suit a vintage or luxury aesthetic.
In the thrid place, make sure your mannequin is clean and stable. If you're using an invisible or ghost mannequin (where parts are removed digitally), plan your shoot to capture multiple frames: one with the mannequin and another with the background and garment details, to composite them in post-production.
Setting Up the Right Lighting
Light can either improve or completely worsen the photo. Use soft, diffused light to avoid harsh shadows and preserve the garment’s true colors and textures. A basic three-light setup with a key light, fill light and background light will usually produce clean images.
If you’re working with natural light, shoot near large windows with sheer curtains to diffuse direct sunlight. Always maintain white balance to ensure accurate color representation, which is essential for customer trust and brand integrity.
Lighting should be consistent across your product line. That’s why one of the best practices for mannequin photography is building a controlled setup you can replicate for each shoot.
Camera Gear and Settings
While you don’t need the most expensive camera on the market but you will have to make sure your camera has an acceptable quality. Otherwise this could be a huge blocker because your images will look poor and people will not be sure to buy.
Composing for Clean, Balanced Shots
Composition is about how the garment fills the frame. Keep the mannequin centered, and make sure it’s perfectly vertical to avoid skewed images. Maintain consistency in how each item is styled. This builds visual trust and improves your site’s overall aesthetic.
When it comes to cropping, allow space around the item but avoid too much negative space. Leave enough room for zoom features on product pages, and follow platform-specific aspect ratios if you’re posting on social media or marketplaces.
A key part of the best practices for mannequin photography is to build and document a style guide that your entire team can follow for consistency across campaigns.
Post-Production and Retouching
Even the cleanest shoot will need some level of editing. At minimum, post-processing should include:
Background removal or cleanup
Color correction for fabric accuracy
Sharpening and clarity adjustments
Removal of visible clips, pins, or mannequin parts
If you're creating ghost mannequin images, combine multiple shots in Photoshop to remove the mannequin and recreate the neck, sleeves, or back areas. This technique gives the illusion of a floating garment that’s still shaped correctly.
For brands that need to do this at scale or want to avoid complex editing workflows, this is where Modelia comes in.
How Modelia Helps Perfect Mannequin Photography
Modelia is a new platform that brings the power of AI to fashion visuals. While many editing tools require time-consuming manual processes, Modelia streamlines image enhancement and styling with just a few clicks.
For mannequin photography, Modelia can:
Automatically clean and neutralize backgrounds
Enhance fabric texture and lighting balance
Sharpen image resolution
Create studio-quality outputs from basic shots
Simulate ghost mannequin effects digitally
This makes Modelia particularly valuable for brands that shoot in-house or lack full-time retouchers. You upload your photo, and the tool optimizes it for e-commerce or social media, helping you scale content without sacrificing quality.
Incorporating Modelia into your workflow is not only efficient but also ensures your product visuals stay consistent and on-brand across all platforms.
Mannequin Photography Tips for Different Garments
Different clothing types require different adjustments:
Tops and Blouses: Pin behind the waist and shoulders for structure and make sure collars lie flat.
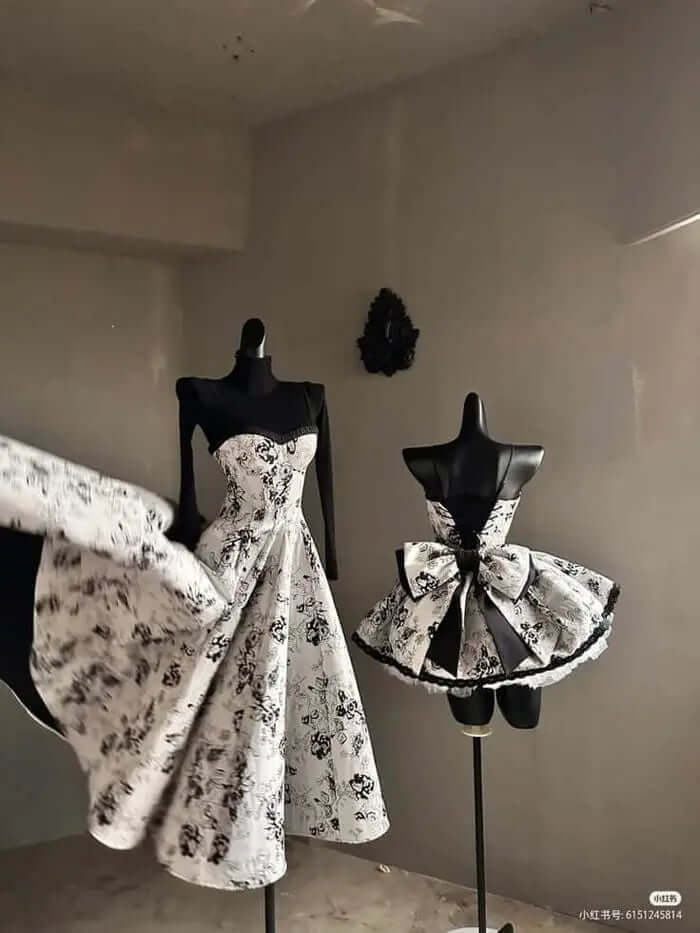
Dresses: Consider the natural drape, fan out hems slightly and avoid overly stiff posing.
Pants and Skirts: Use clamps at the waist to eliminate slack and keep hems straight and pressed.
Outerwear: Display open to show layers underneath and puff sleeves or collars to give depth.
These garment specific adjustments are subtle but crucial for realistic presentation.
Avoiding Common Mistakes
Even experienced photographers fall into traps. Some common errors to watch out for include:
Crooked mannequins or tilted angles
Overexposed highlights that wash out color
Uneven lighting or mixed color temperatures
Rushed styling with visible wrinkles or awkward fit
Forgetting to maintain consistency across a product line
Following the best practices for mannequin photography ensures that your results are polished and professional every time.
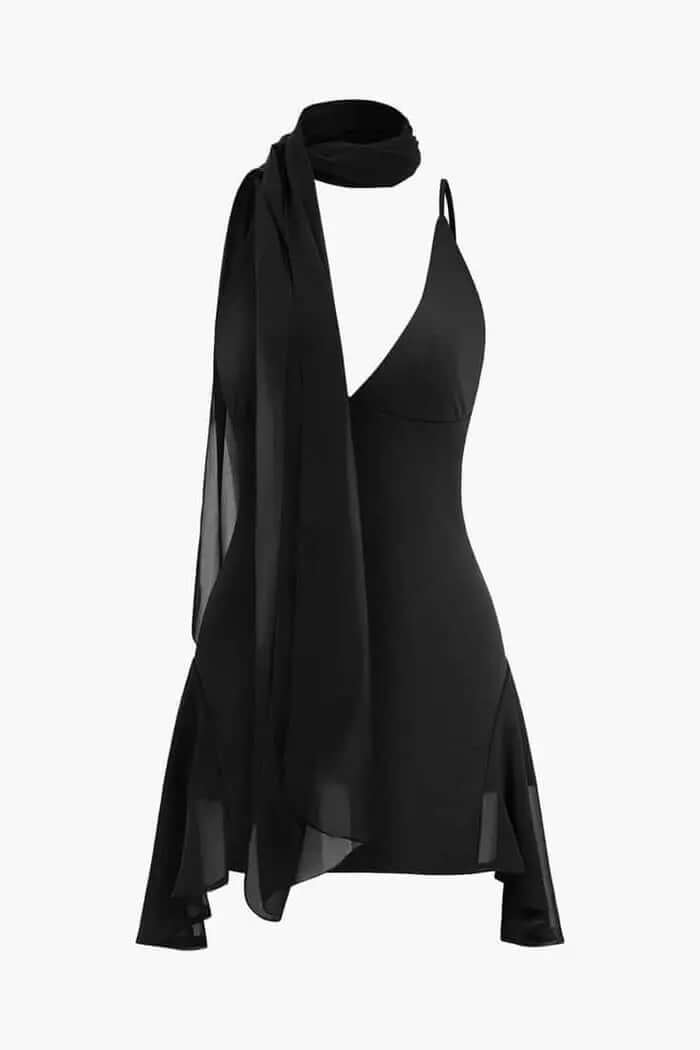
What Is the Ghost Mannequin Effect in Photography?
The ghost mannequin effect is a photography technique used primarily in fashion e-commerce to make garments appear as if they’re being worn, without showing the mannequin itself. This effect is created by photographing the garment on a mannequin and then using additional shots (like the inner collar or sleeve) to composite a complete, 3D-looking product image. The mannequin is digitally removed during editing, leaving the clothing with natural shape, depth, and structure. The result is a clean, professional visual that helps customers better understand the fit and construction of the garment, ideal for product listings where detail matters.
Who Was the Photographer Who Used Mannequins?
One of the most iconic photographers known for using mannequins in artistic photography was Hans Bellmer, a German surrealist active in the 1930s and 1940s. Bellmer created elaborate, often provocative compositions using life-sized dolls and mannequins, exploring themes of identity, control, and the human form. While his work is far removed from commercial fashion photography, it represents one of the earliest examples of mannequins being used as expressive visual subjects rather than simple retail props. In modern times, mannequins are widely used by fashion photographers to display clothing in both creative and commercial contexts.
Resume: How Do You Take Pictures of Mannequin Clothes?
To take high-quality pictures of clothing on a mannequin, start by preparing the garment, steam it thoroughly to remove wrinkles and adjust it snugly on the form using clips or pins at the back for a tailored look. Set up in a well-lit space using soft, diffused lighting to avoid harsh shadows. A neutral background, like white or gray, helps keep the focus on the product.
Use a tripod and DSLR or mirrorless camera for stability and sharpness, ideally with a prime lens in the 50mm to 85mm range. Frame the mannequin straight-on, ensuring it’s centered and upright. Take multiple shots from different angles if needed; front, side, back, and close-ups of details. If you're aiming for a ghost mannequin effect, be sure to capture secondary images like the inside collar or sleeve areas for compositing.
For editing, you can use software like Photoshop or simplify your workflow with AI platforms like Modelia, which help remove backgrounds, enhance textures, generate real models and even simulate ghost mannequin results with professional polish.
Mannequin photography is a powerful asset for any fashion business, but it only delivers results when approached with intention and technique. From setting up your studio to styling garments and refining your final images, every step plays a part in building a professional visual brand.
By applying the best practices for mannequin photography and using the right digital tools, you’re not just taking pictures, you’re telling your brand’s story with clarity and style.
Incorporating tools like Modelia into your process can further streamline your workflow and elevate your results. Instead of juggling multiple tools and retouching steps, Modelia lets you focus on creativity and strategy while delivering consistent, high-quality visuals at scale.
Click here and start creating model images out of your mannequin photos with Modelia


