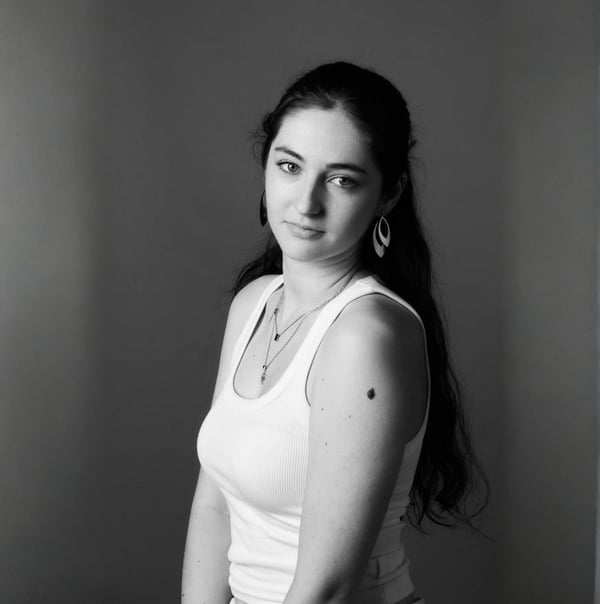
Best Lighting for Product Photography: How to Capture Perfect Shots
Table of Contents
- Why Lighting Matters in Product Photography
- Natural vs. Artificial Lighting
- Essential Lighting Equipment for Product Photography
- Best Lighting Setups for Common Product Types
- Understanding Color Temperature
- Product Photography Lighting Tips
- Budget Lighting Setups (Under $100)
- Professional Lighting Setup (Mid to High Budget)
- How Modelia Simplifies Lighting Challenges in Product Photography
- Recommended Lighting Kits for Product Photography (2025 Picks)
- Recap of the best lighting for product photography tips
- FAQ: Best Lighting For Product Photography
Lighting is one of the most crucial elements in product photography. It can make the difference between a flat, uninspiring image and one that captures the attention of the watcher, enhances product features and drives sales. Whether you’re shooting garments, jewelry, tech gadgets or home goods, mastering lighting will help you showcase your products in their best light (literally). That's why it's so important learning about the best lighting for product photography.
This comprehensive guide breaks down everything you need to know about lighting for product photography. From natural vs. artificial light to technical things like softboxes, reflectors and color temperature, we’ll help you get the perfect setup for professional-quality photos.
Why Lighting Matters in Product Photography
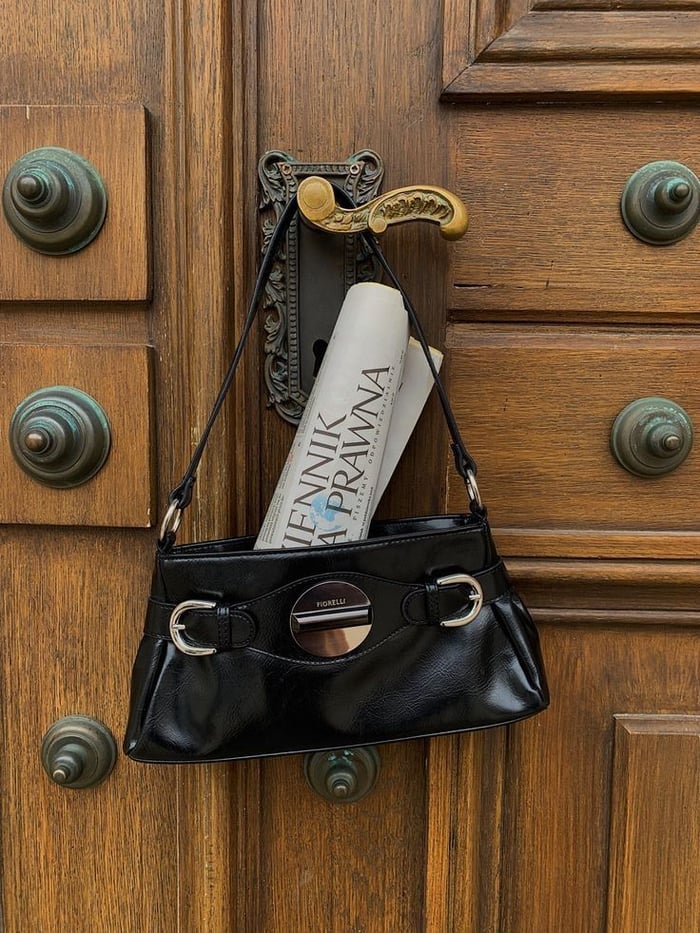
Lighting is one of the most critical elements in product photography because it directly shapes how customers perceive a product. Good lighting enhances image clarity and sharpness, making the product stand out with all the details. It helps to make sure that colors are represented accurately, so what shoppers see online closely matches what they receive.
This is essential not only for visual appeal but also for building trust and minimizing returns.
Lighting also plays a key role in highlighting texture and form, whether it's the grain of leather, the gloss on a ceramic surface, or the soft weave of a fabric. These small details give customers an idea of the quality of the product's material. Beyond the technical aspects, lighting helps define the tone and atmosphere of an image. It can make a product feel luxurious, minimalist, energetic or warm, depending on its use, reinforcing brand identity in every shot.
On the flip side, poor lighting can completely break your efforts. It can introduce harsh shadows that obscure details, wash out colors so they look dull or unnatural, and create unflattering reflections that distract from the product itself. Blurry or grainy images are often the result of insufficient light, leading to a perception of low quality and, ultimately, fewer conversions.
In contrast, thoughtfully crafted lighting setups lead to clean, consistent visuals that not only look professional but also help shoppers feel confident in what they’re buying. This level of visual trust is a major factor in reducing cart abandonment and product returns. In short, mastering your lighting means mastering how your brand is seen.
Natural vs. Artificial Lighting
When it comes to product photography, choosing between natural and artificial lighting can significantly affect the outcome of your images. Both have their strengths and challenges, and understanding how to use each can help you achieve professional-looking results that resonate with your brand’s aesthetic.
Natural Lighting
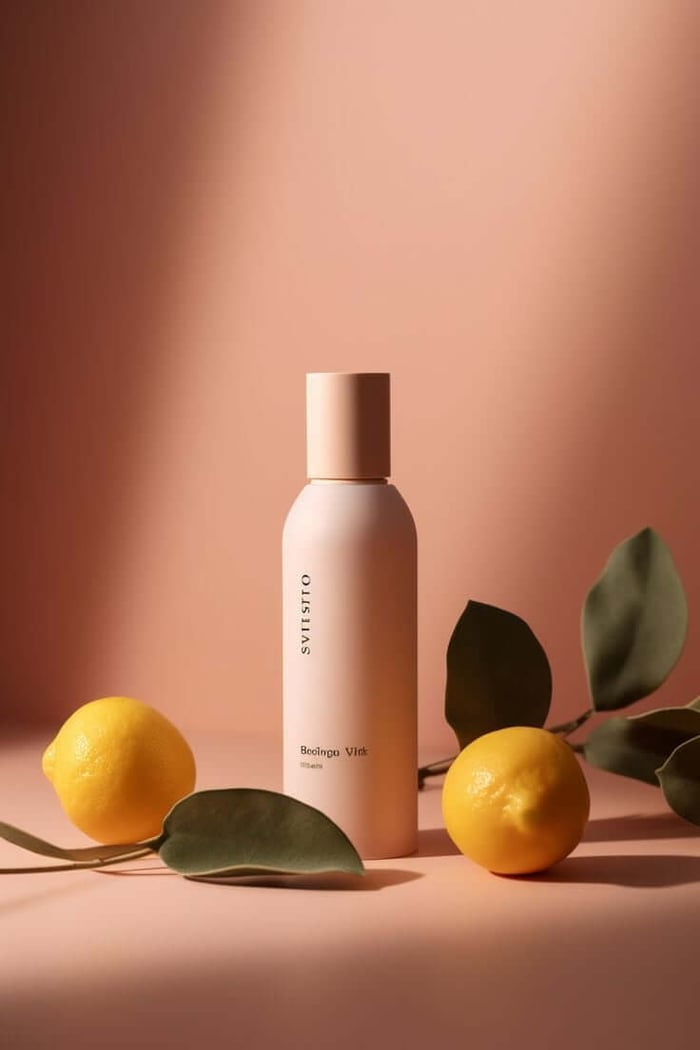
Natural light is a popular choice, especially for those starting out or aiming for a soft, organic look. It’s free, easily available, and on overcast days or near large windows, it creates a beautifully diffused glow that flatters most products. This makes it ideal for lifestyle shots, minimalist branding, and social media content where authenticity and softness matter.
However, natural lighting can be unpredictable. It changes throughout the day, is affected by the weather, and is hard to control. A perfectly lit setup in the morning may look completely different by afternoon. For consistent product photography, especially for e-commerce catalogs, this inconsistency can become a problem.
To make the most of natural light, shoot near a large window that lets in plenty of indirect sunlight. If the sun is too harsh, sheer curtains work well to diffuse it. Avoid shooting during peak midday hours unless you're intentionally using sharp shadows for artistic effect. Morning and late afternoon light (often called “golden hour”) tends to be softer and more flattering.
Artificial Lighting
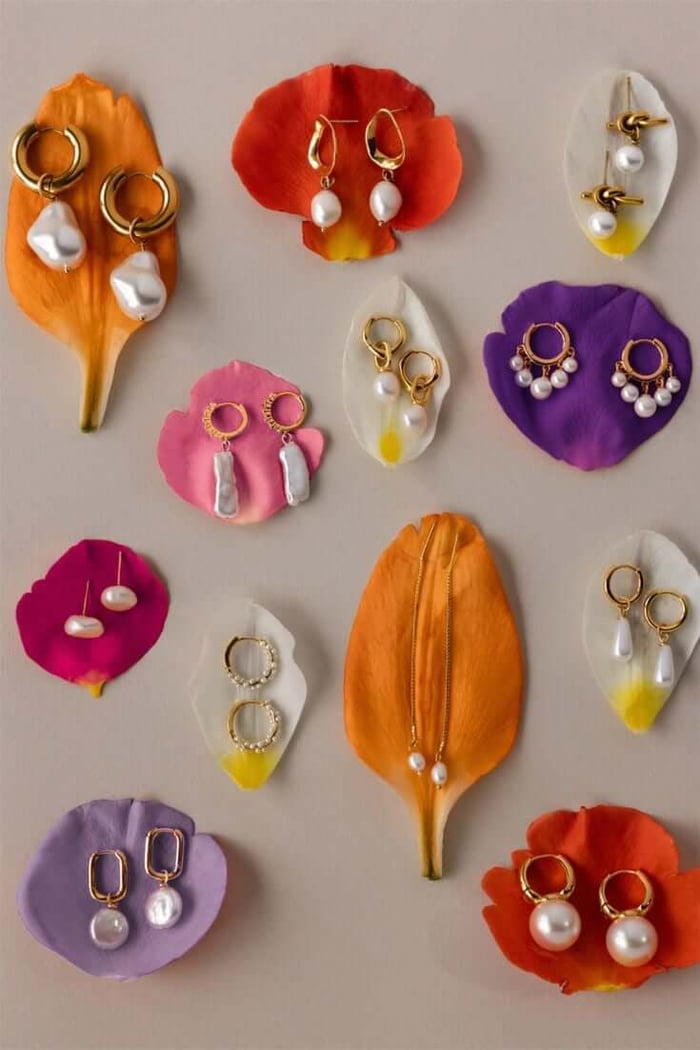
Artificial lighting gives you full control. You can decide the intensity, angle, and color temperature of your light source, ensuring consistency across all your photos, regardless of the time of day or weather conditions. This is essential for brands that need to shoot large volumes of products or maintain a uniform look across their catalog.
The trade-off is that artificial lighting requires an upfront investment and a bit of a learning curve. Understanding how to shape and soften light takes practice, and it may involve additional gear like diffusers, reflectors or modifiers.
For most product photography setups, the best artificial lighting sources include:
Continuous LED lights: These are beginner-friendly and let you see your lighting setup in real time.
Flash strobes with softboxes: Ideal for crisp, studio-quality shots with deep contrast and detail.
Ring lights: Useful for small items like jewelry or beauty products, offering even lighting with minimal shadows.
In summary, natural lighting can give your photos a fresh, approachable look, especially when used creatively. But for precision, repeatability, and full creative control, artificial lighting is the preferred choice for most serious product photography projects.
Essential Lighting Equipment for Product Photography
1. Softboxes
Create diffused, even lighting
Reduce harsh shadows
Ideal for most product types
2. Umbrellas
Shoot-through umbrellas: soften and spread light
Reflective umbrellas: bounce light for a brighter effect
3. Light Tents and Boxes
Excellent for small products like jewelry or cosmetics
Built-in diffusion and background
Simple setup for e-commerce shots
4. Reflectors and Bounce Cards
Redirect light into shadow areas
Use silver for cooler tones, gold for warm tones
Affordable and easy to maneuver
5. Tripods and Remote Shutters
Keep shots consistent
Avoid camera shake in low light
Essential for sharp detail photography
Best Lighting Setups for Common Product Types
Lighting isn’t one-size-fits-all, different products require different approaches to show their best side. Whether you're shooting fashion, jewelry, electronics, or food, the way you light your scene can dramatically affect the quality, mood, and appeal of your images.
Clothing and Fashion
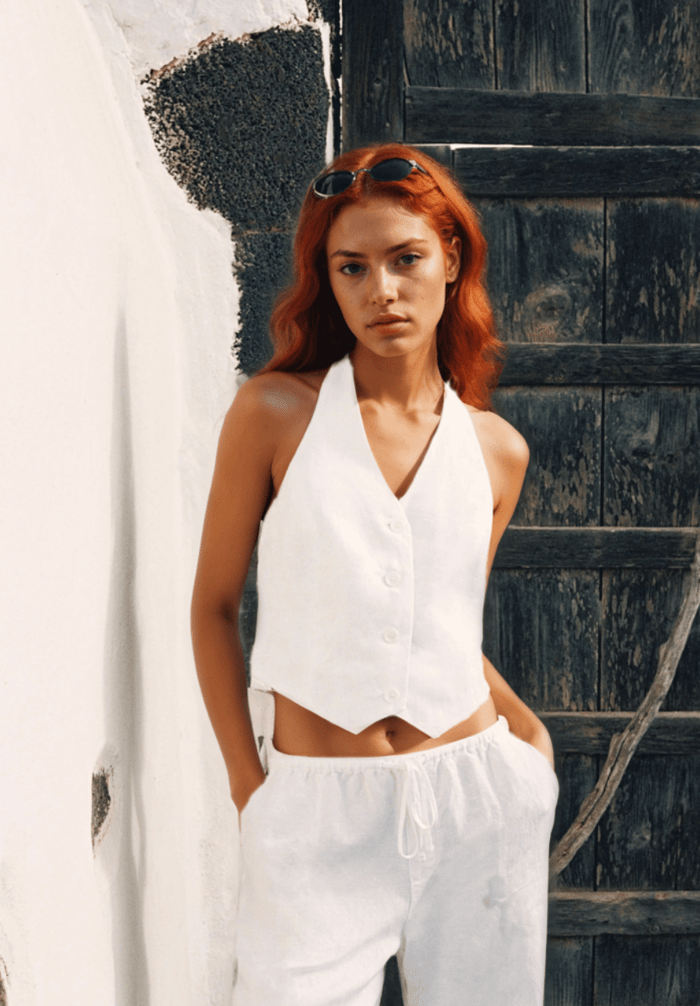
Apparel benefits most from soft, even lighting that minimizes harsh shadows and brings out texture without exaggerating wrinkles. A typical go-to is a 3-point lighting setup. This includes:
A key light to illuminate the subject from one side,
A fill light to soften shadows on the opposite side, and
A backlight (or hair/rim light) to separate the clothing from the background and add depth.
Large softboxes or umbrella lights help create a broad, diffused light source that flatters fabrics and ensures even exposure. If you're photographing on a mannequin or model, this setup can help highlight the garment’s shape and movement naturally.

Jewelry
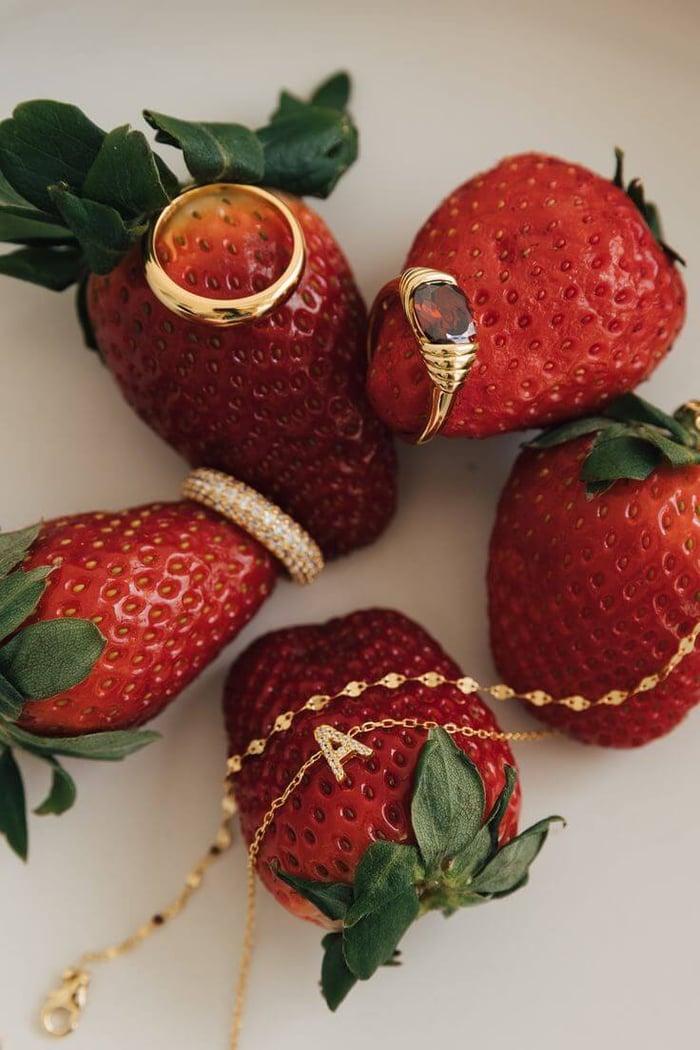
Jewelry is one of the trickiest products to light because of its small size and reflective surfaces. Reflections can easily become distracting, so a lightbox is often essential. It encloses the jewelry in a softly lit environment, eliminating hard shadows and unwanted glares.
Use diffused side lighting, rather than top-down, to bring out the sparkle in gemstones or shine in metals. Carefully placing small LED lights at angles can help create brilliance without overexposing any part of the item. A macro lens is highly recommended to capture the fine details and textures that are critical for selling high-end pieces.
Tech Products
With gadgets like smartphones, laptops, or headphones, the focus is often on sleek finishes and sharp design. Here, strong directional lighting works well to highlight edges, shapes, and materials. A single-source light with a reflector can add dramatic contrast and define contours.
However, because tech products often have glossy or glass surfaces, controlling reflections is key. Position lights at angles that avoid bouncing directly into the lens, and always clean the product thoroughly to avoid capturing smudges or dust that become highly visible under strong light.

Food and Lifestyle
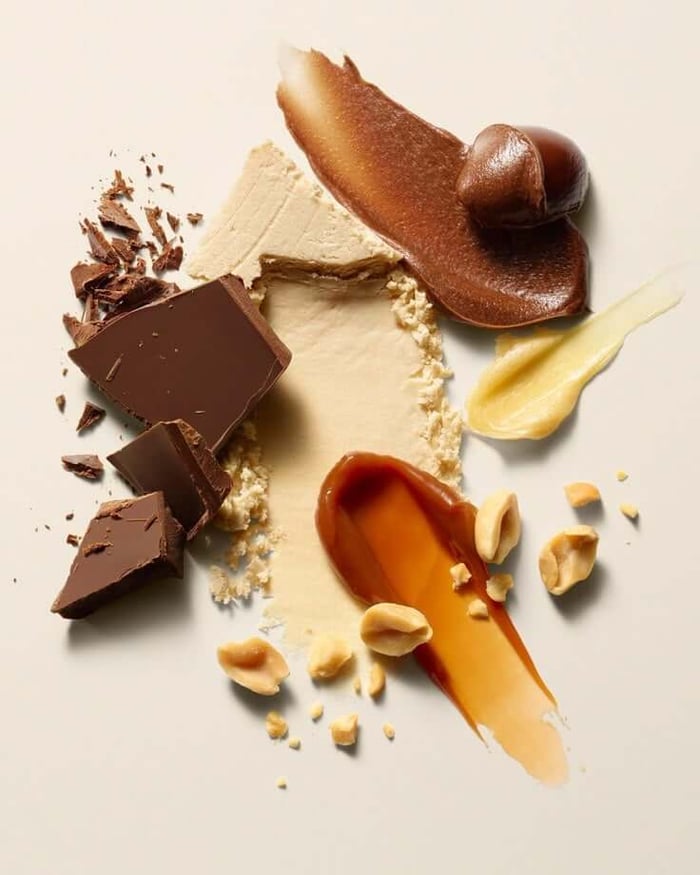
Food photography thrives on mood and texture. Natural light is often the first choice here because of the warm, authentic feel it creates. Shooting near a window with indirect light is ideal. A sheer curtain can diffuse direct sunlight, resulting in a soft glow that makes food look fresh and appetizing.
To bring out texture, like the crispness of bread or the juiciness of fruit, use side lighting. Backlighting also works well for beverages and semi-transparent dishes like soups or glazes. To complete the scene, styling with props like cutlery, linens, or ingredients adds context and visual interest, helping to tell a story around the product.
In each case, mastering the right lighting technique will elevate your product from ordinary to outstanding, making your photography more professional and your products more desirable.
Understanding Color Temperature
Color temperature is just a way of describing the color of the light you're using in your photos, whether it looks more yellow, white, or blue. It’s measured in something called Kelvins (K), but don’t worry, you don’t need to be a scientist to get it!
Here’s what you need to know:
5000K–5500K is called daylight-balanced light. It’s a clean, neutral white light that works well for most product photography. It’s like the kind of light you’d get outside on a clear day, bright and natural.
Under 3000K gives you a warm light. Think of cozy indoor lamps or candlelight—it has a yellow or orange tone. It’s great for creating a relaxed or romantic vibe, but it can change the way your product’s colors look.
Over 6000K gives you a cool light. This light looks more bluish—like early morning light or a cloudy sky. It can feel modern or even clinical.
Quick tip:
Try to use just one type of light when taking photos. If you mix warm and cool lights in the same shot, your camera can get confused and the colors may turn out weird—like your white shirt looking yellow or blue. Stick with one temperature to keep your product colors looking true and professional.
Product Photography Lighting Tips
Always diffuse your light
Avoid mixing light sources unless you know how to color-correct
Use gray cards or white balance tools for accurate colors
Take test shots and review them at 100% zoom
Keep lighting consistent across your catalog
Experiment with lighting angles to find the most flattering setup
Budget Lighting Setups (Under $100)
Option 1: Natural Light Kit
White foam board as a reflector
Large window + sheer curtain
Smartphone tripod
Option 2: Budget LED Kit
Two small LED panels with adjustable brightness
Clip-on diffusers
Tabletop lightbox for small products
Professional Lighting Setup (Mid to High Budget)
2–3 Continuous LED panel lights with softboxes
Adjustable C-stands or boom arms
Backdrop stands with seamless paper
Reflector/diffuser combo set
Light meter for consistency
How Modelia Simplifies Lighting Challenges in Product Photography
Instead of investing in bulky lighting gear, managing natural light conditions, or learning the ins and outs of softboxes and reflectors, Modelia empowers fashion brands to generate high-quality product visuals using AI, all with perfectly calibrated lighting baked in.
Whether you're creating ghost mannequin images, styled flat lays, or editorial model shots, Modelia’s AI engine automatically handles light direction, diffusion, and color temperature. That means no more worrying about harsh shadows, mismatched white balance, or expensive studio setups.
For fashion e-commerce teams, this translates into faster turnaround times, lower production costs, and consistently beautiful imagery that meets your visual brand standards. You can also iterate on variations, like lighting moods or seasonal adjustments, without needing to reshoot your products. In short, Modelia lets you focus on creative direction and brand storytelling, while it handles the technical details behind the scenes.
If you want to scale your content production and keep visual quality at its highest, Modelia offers a smarter, modern alternative to traditional lighting workflows.
Recommended Lighting Kits for Product Photography (2025 Picks)
Kit Name | Type | Best For | Price Range | Link |
|---|---|---|---|---|
Neewer 2-Pack LED Kit | LED + Softbox | Beginners & small studios | $80–120 | [Buy on Amazon] |
Godox SL60W Kit | Studio Light | Professional quality | $150–200 | [Buy on B&H] |
Lume Cube Panel Pro | Portable LED | On-the-go product shots | $120 | [LumeCube.com] |
GVM RGB LED Kit | RGB + Control | Creative/lifestyle brands | $250–300 | [Buy on Amazon] |
Recap of the best lighting for product photography tips
Great product photography starts with great lighting. Whether you're just getting started or looking to elevate your visuals, understanding the fundamentals of lighting will pay off with every photo you take. From setting up a simple window shot to mastering a three-point studio setup, the right light can elevate your brand, increase conversions, and make your products truly shine.
Start enhancing your images with Modelia
FAQ: Best Lighting For Product Photography
What kind of lighting is best for product photography?
Soft, diffused light is the best option, whether it comes from natural sources like a window with sheer curtains or from artificial sources such as softboxes and LED panels. This type of lighting minimizes harsh shadows and highlights product details.
How can I use natural light effectively for product photos?
Place the product near a large window during times when the light is soft, like early morning or late afternoon. Use reflectors to fill in shadows and avoid direct sunlight, which can create unwanted glare or harsh contrasts.
What artificial lighting setups work best for product photography?
A two- or three-light setup works well. Use a key light at a 45-degree angle, a fill light to soften shadows, and, if possible, a backlight to separate the product from the background. Softboxes and adjustable LED panels help control brightness and color temperature.
How should I light reflective or transparent objects?
For reflective or transparent products, diffuse the light with softboxes, diffusers, or a light tent. Adjust light angles to prevent direct reflections into the camera, and consider using polarizing filters to reduce glare.
How would you rate this article:
Related Articles
- The Ultimate Guide to Dressing for Your Body Shape: Find the Best Clothing Styles
- Top 8 Uwear AI Alternatives for E-commerce Fashion Imaging
- How to Draw a Dress: Easy Fashion Sketch Tutorial
- How AI Image Expansion Tools Can Enhance Your Visuals
- Virtual Try-On Technology in Fashion: The Future of Online Shopping
- Digital Fashion in the Metaverse: How Virtual Clothing is Shaping the Future of Online Style
- AI Clothes Swap: Revolutionizing Your Wardrobe with Virtual Outfit Transformations
- Top 5 Image Quality Enhancer to Sharpen & Improve Photos
- Learn How to Create Videos Using AI Technology
- 10 AI Design Tools Revolutionizing Fashion and Ecommerce Design


